Description

$1,000.00
Below is the translation of the subtitles from the video.
Sticker Application Instructions
1. Preparation
Clean and Dry: Ensure your wheels are completely clean and dry before starting.
Pro Tip: It is highly recommended to remove the wheelset from the bike for easier handling and better precision.
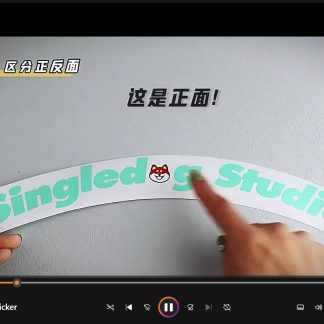
2. Identify the Sides
Carefully distinguish between the front side (the pattern) and the back side (the backing paper) of the sticker.
3. Peeling the Sticker
Place the sticker face down (back side facing up).
Keep the backing paper flat and peel it away slowly and carefully to ensure the decal stays attached to the transfer film.
4. Application
Alignment: Position the sticker against the wheel to find the correct placement before sticking it down.
Secure: Once positioned, press down firmly on the entire pattern to ensure it is securely bonded to the surface.
Remove Transfer Film: Slowly peel off the clear plastic film. Note: Peel it back at a sharp, flat angle (parallel to the surface) rather than pulling it straight up.
5. Completion
You’re all set! Enjoy the new look of your wheels.
1 in stock
| Weight | 20 g |
|---|
Only logged in customers who have purchased this product may leave a review.
Reviews
There are no reviews yet.